











![75th Anniversary Collection Album [UHQCD]](http://www.thesoundoftape.com/cdn/shop/files/UHQCD_600x600_cover_front_80x80.png?v=1791014990)
![75th Anniversary Collection Album [2xLPs]](http://www.thesoundoftape.com/cdn/shop/files/LP_600x600_cover_front_80x80.png?v=1791014367)


HOW TO DEMAGNETISE YOUR REEL-TO-REEL TAPE RECORDER
A practical guide to careful open-reel tape-machine maintenance
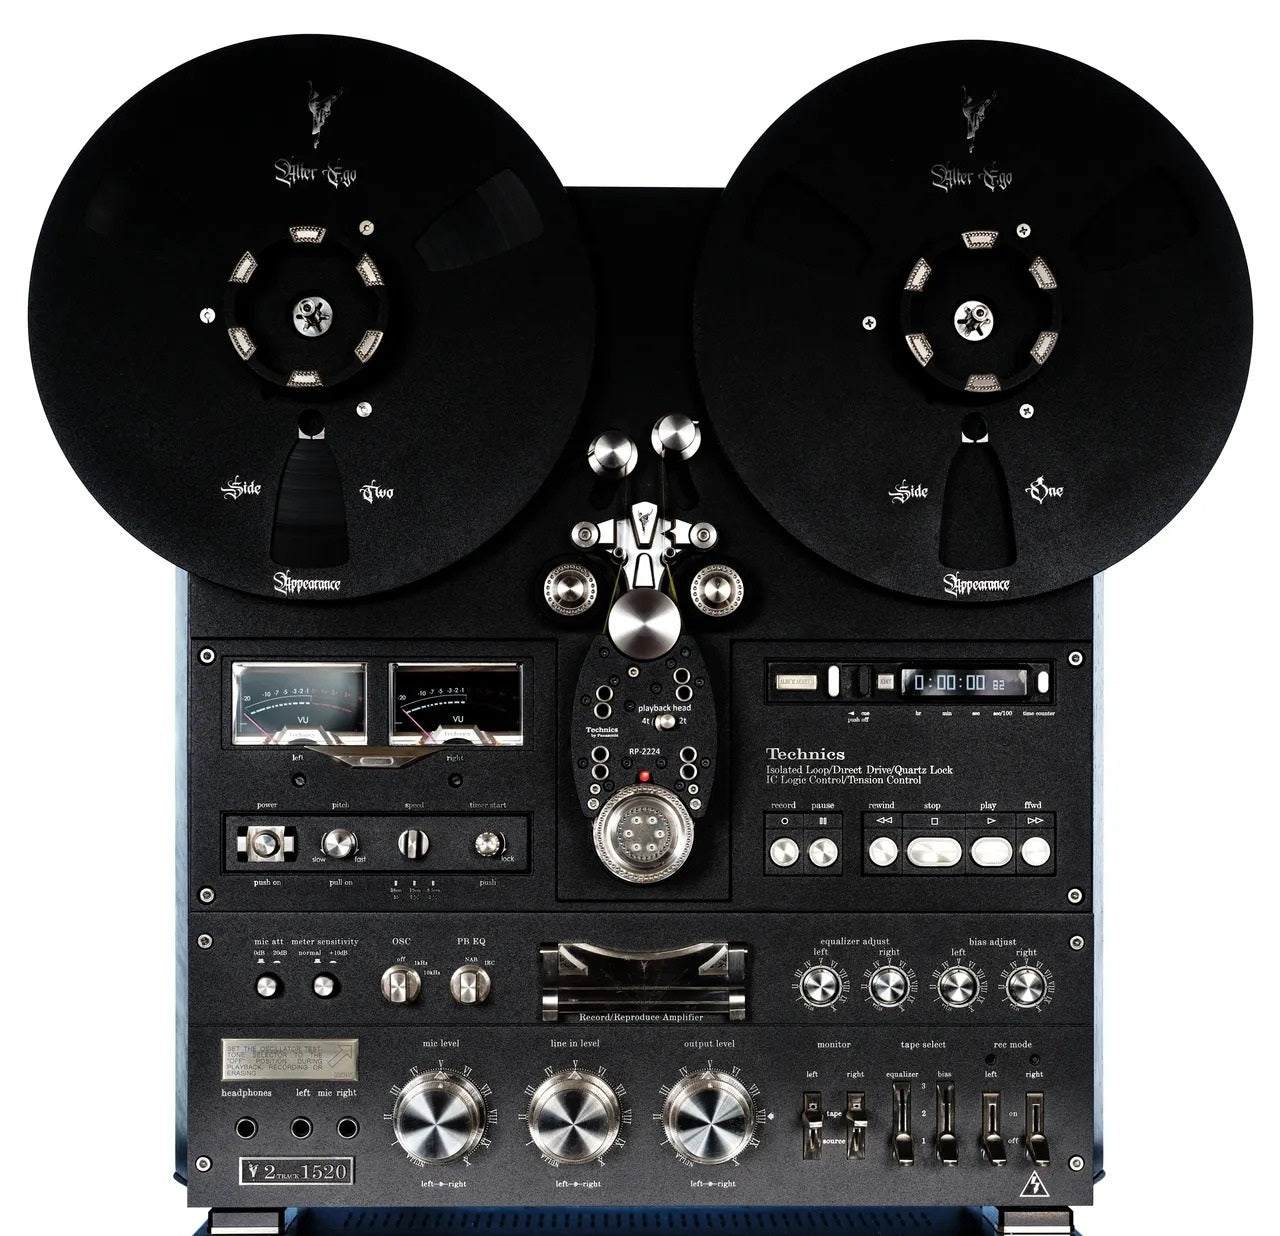
Looking after your reel-to-reel recorder involves both cleaning and, where the manufacturer recommends it, demagnetising.
Cleaning removes oxide, dust and deposits. Demagnetising reduces residual magnetism in the heads and relevant metal tape-path components. These are separate maintenance tasks.
Here is a step-by-step guide for using a mains-powered wand demagnetizer.
STEP 1 — CHECK YOUR EQUIPMENT’S INSTRUCTIONS
Read your recorder’s manual and the demagnetizer’s instructions before starting. Confirm which components to treat, the required operating distance and any maximum operating time.
Head designs and maintenance requirements vary between machines.
STEP 2 — SWITCH OFF THE RECORDER
Stop the transport and switch off the machine. Demagnetising with the recorder’s electronics powered on can cause damage.
Remove the head cover only as described in your manual.
STEP 3 — MOVE YOUR TAPES AWAY
Remove any reel from the recorder and move recorded tapes, cassettes and calibration tapes well away from the working area.
A demagnetizer’s magnetic field can damage recordings.
STEP 4 — CHECK THE WAND’S TIP
Make sure the protective covering is intact, where fitted. Never allow exposed metal to scratch the head faces.
Follow your recorder’s instructions on clearance and contact. A protected tip does not automatically mean that touching the heads is appropriate.
STEP 5 — ACTIVATE AT A DISTANCE
Switch on the demagnetizer at least one metre away from the recorder, or farther if its instructions require it.
Keep it energised throughout the procedure. Never switch it on beside the heads.
STEP 6 — APPROACH SLOWLY
Bring the wand towards the tape path gradually, using smooth, controlled movements.
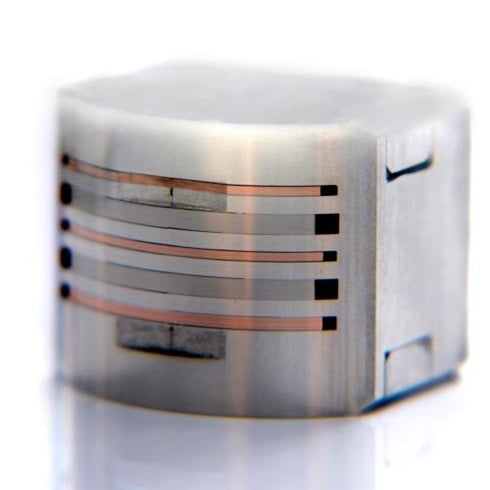
Move slowly across each component specified in your manual. These may include record and playback heads, metal guides, tape lifters, the capstan shaft and tension-arm contact surfaces.
Follow the model’s instructions concerning the erase head. Avoid treating unspecified parts.
STEP 7 — WITHDRAW SLOWLY
After treating the recommended components, gradually move the energised wand away from the recorder.
Continue until you reach at least the specified separation distance.
STEP 8 — SWITCH OFF AWAY FROM THE MACHINE
Only switch off or unplug the demagnetizer after withdrawing it fully.
Remember: switch on away, approach slowly, work carefully, withdraw slowly, switch off away.
STEP 9 — COMPLETE YOUR MAINTENANCE CHECK
Check that the tape path is clean and any cleaning fluid has completely evaporated. Refit the head cover before loading a tape.
Demagnetising will not correct worn heads, incorrect alignment, dirty surfaces or transport faults.
HOW OFTEN SHOULD YOU DO IT?
Follow your recorder manufacturer’s maintenance schedule. There is no single interval suitable for every machine.
Keep a simple maintenance log recording cleaning, demagnetising and servicing dates—it helps you establish a consistent routine.
💬 LET’S SHARE OUR EXPERIENCE
Which reel-to-reel recorder and demagnetizer do you use?
What maintenance interval does your manual recommend? Have you noticed—or measured—a change after demagnetising?
Share your model and practical tips below. Your experience could help another tape enthusiast care for their machine.
The Sound of Tape — Care for the machine. Preserve the music.
#TheSoundOfTape #ReelToReel #TapeMaintenance #TapeRecorder #AnalogueAudio #MasterTape
 Спілкуйтеся з нами
